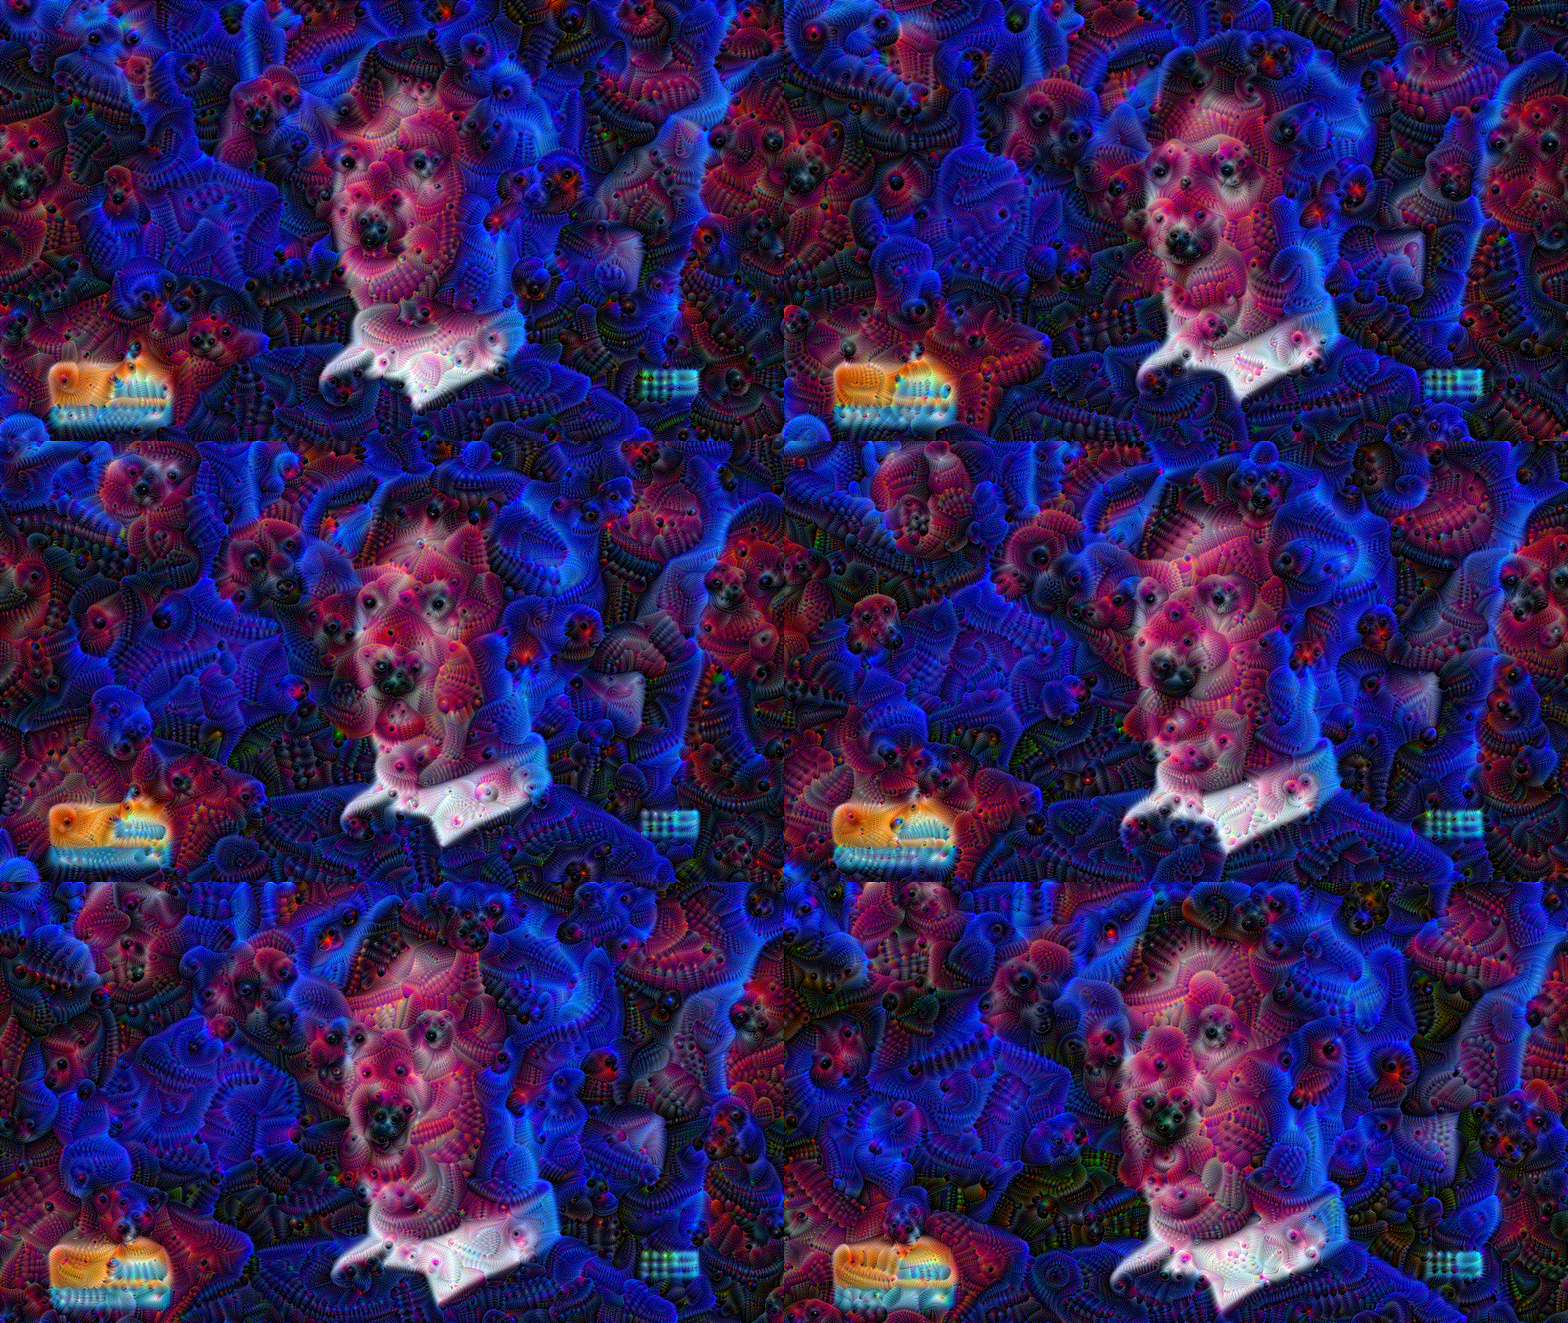
A version of DeepDream that works in (relatively) modern-day python.
Capable of processing static images, animated gifs, and videos.
The easiest way to run this is using the provided Google Colab Notebook.
- One-click Setup: No local environment configuration needed.
- Interactive UI: Graphical controls for parameters.
- Video Support: Enhanced multi-worker processing for faster video rendering with audio support.
- Google Drive: Save results directly to your cloud storage.
📄 View Detailed Colab Guide - Step-by-step instructions and parameter explanations.
The original DeepDream and related projects like DeepDreamVideo were written 10 years ago in python 2, so they're difficult to get running today without jumping through a lot of hoops. I've attempted to port this functionality to run in the most recent version of python 3 possible.
RAM / VRAM requirements? It seems to use a very small amount. You could probably run this on a toaster.
Note that I'm not an expert with this stuff. It's simply my best effort to make this old tech more accessible. It should be cross-platform, but I've only tested it on Linux+AMD. I can't guarantee that it'll work on your machine.
WARNING: This setup is not noob friendly. You need some familiarity with python virtual environments and a willingness to troubleshoot platform-specific depencency issues. Please read carefully as there are some important caveats to know before you try to run it.
The most recent version of python that works for me is python 3.11 (I've also had success with python 3.10). The main dependency that hinders newer python versions is tensorflow which is only supported for python 3.8-3.11.
To get python 3.10 or 3.11, you may have to compile it from source, find a legacy installer, or find an unofficial package, such as the deadsnakes repository for Ubuntu or python310/python311 from the Arch Linux AUR.
- If you're on Windows+Nvidia, note that you'll need to install the Microsoft Visual C++ redistributable
- If you're on Windows+AMD, you may be able to get it to work through WSL
- If you're on Linux+AMD (like me), you'll have to install tensorflow-rocm
- If you're on Linux+Nvidia it may work as-is, but you might have to select a specific version of tensorflow (see instructions below)
You may be asking, why doesn't this use pytorch? My implementation is based on this tutorial from tensorflow. DeepDream is very old and predates pytorch so that's why this implementation is so wonky. I don't know enough about pytorch or tensorflow to know how to port it. I welcome anyone who has ideas on how to do that, because eliminating the tensorflow dependency would make life much easier.
- Setup a virtual environment:
python3.11 -m venv venv
- Install tensorflow
For Nvidia:
pip install tensorflow
For AMD:
pip install tensorflow-rocm
However, the tensorflow-rocm in pip is very out of date. So you may want to install a newer release:
pip install --upgrade tensorflow-rocm==2.16.2 -f https://repo.radeon.com/rocm/manylinux/rocm-rel-6.2.3/
I couldn't get anything newer to work, but feel free to try other releases by browsing here.
Despite my best efforts, I still can't get GPU inference to work, so I need tensorflow-rocm and I need to specify --cpu when running inference. Good luck and if you get GPU inference to work on AMD, let me know what specific configuration works for you.
NOTE: The specific version of tensorflow that you install, and usage of CPU vs GPU, can drastically change what the output looks like. I don't know why this is the case. If you want to get results very close to the tutorial, use the pip version tensorflow-rocm 2.14.0.600 from January 2024 or tensorflow 2.14.0 from September 2023.
- Install additional requirements:
pip install -r requirements.txt
- (Optional) configure ffmpeg path:
- This script makes system calls to ffmpeg and ffprobe when processing gifs and video. If ffmpeg is already in your system path, you don't need to do anything.
- You can edit
ffmpeg_pathat the top of the script to point to your custom path, i.e.ffmpeg_path = '/your/path/to/ffmpeg' - If you're only interested in running images (png, jpg) don't worry about it
By default, the script is configured to run a simple example that loads example.png from the current working directory, so you can test your setup by simply running:
python dream.py
Outputs are put into the output directory.
If you're having problems with GPU inference, try CPU only:
python dream.py --cpu
Specify your own image with -i/--input:
python dream.py -i input.jpg
You can do animated gifs and videos as well:
python dream.py -i dancing_baby.gif
The gif or video will be broken down into frames and processed frame-by-frame.
--blendSets the blend amount when feeding the previous output image into the next input when processing a video or gif (default is 0.0, which is no blending). A value of 1.0 means that 100% of the output image is blended into the next input.--cpuDisables GPU inference, running in CPU only mode--diffEnables calculating the difference between the input image and the output image when blending that image into the next input. By default this is disabled, and blend mode will simply blend the whole output image. Theoretically, enabling this allows only the AI artifacts to carry over into the new image, which can produce interesting temporal consistency of the artifacts.--inputSets the input filename (default isexample.png)--max_sizeLimits the maximum size of the image input. I haven't come across an image too large yet, but use this in case you run out of memory or see some weirdness with large images.--modeSets the inference mode, which can be"simple"or"octaves"(default issimple). Simple mode takes the least amount of time, octaves mode is more flexible and can produce different patterns depending on how you specify the octaves.--octavesSets the list of octaves to process (default is "-2, -1, 0, 1, 2"). The input string should be a comma separated list of integers. Octaves and scale can really affect the generated pattern so I suggest playing with both.- You may specify the special string
"random x"where x is an integer, and it will create a list of random octaves of that length, i.e.--octaves "random 6"will produce 6 random octaves. - You may also specify "range x y" and the octaves will be in the range x to y-1, i.e.
--octaves "range -2 2"will result in octaves"-2, -1, 0, 1"
- You may specify the special string
--outputSets the output directory name (default is "output")--rand_maxSets the upper bound for an octave when using random octaves (default is 127)--rand_minSets the lower bound for an octave when using random octaves (default is -128)--scaleSets the scale factor in octaves mode (default is 1.0). This value is a multiplier to the octaves and will also result in an output upscaled or downscaled by this amount.--stepsSets the number of inference steps (default is 20)--step_sizeSets the size of each step (default is 0.1)--tile_sizeSets the tile size used in octaves mode. If not specified, the max dimension of the input image is used.
These are real usage examples run on my system with tensorflow-rocm==2.14.0.600:
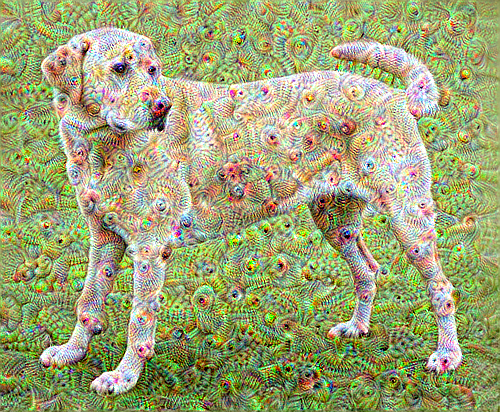
Default example with custom number of steps in simple mode:
python dream.py --cpu --steps 10
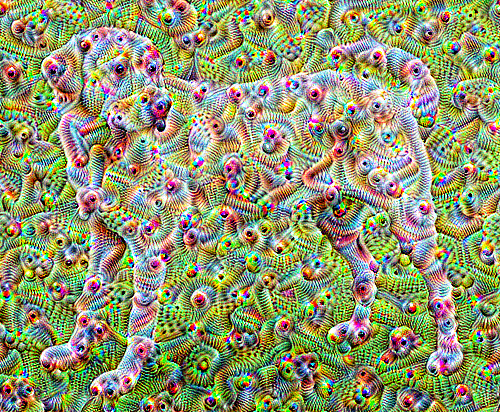
Same as above, but with octaves mode:
python dream.py --cpu --steps 10 --mode octaves
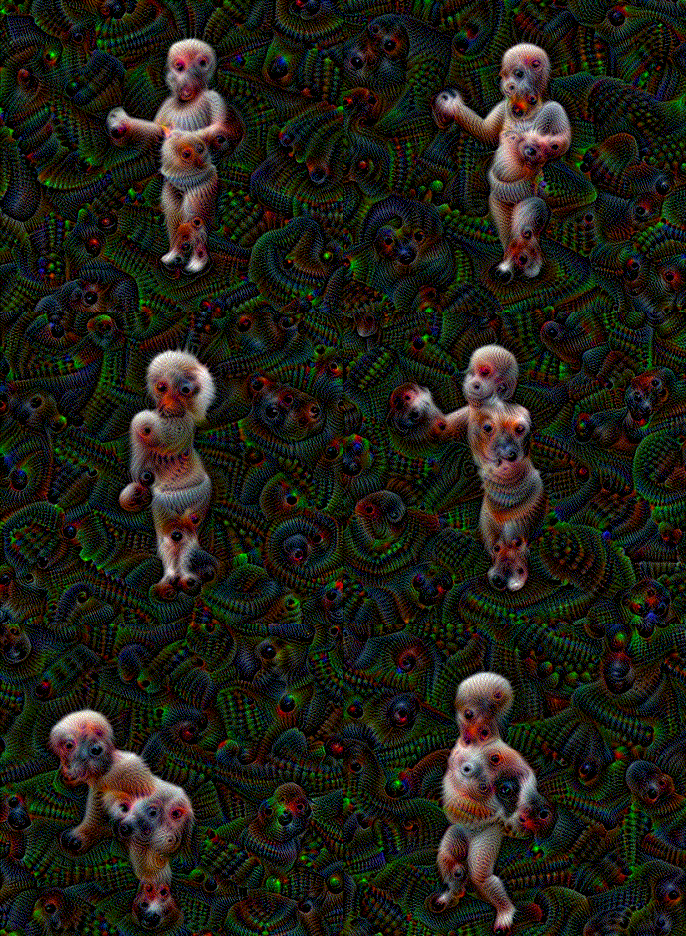
Specifying steps, step size, and 1.25x upscale:
python dream.py --cpu -i dancing_baby.gif --mode octaves --steps 15 --step_size 0.0275 --scale 1.25
Same as above, but with --blend set to 0.4:
python dream.py --cpu -i dancing_baby.gif --mode octaves --steps 15 --step_size 0.0275 --blend 0.4 --scale 1.25
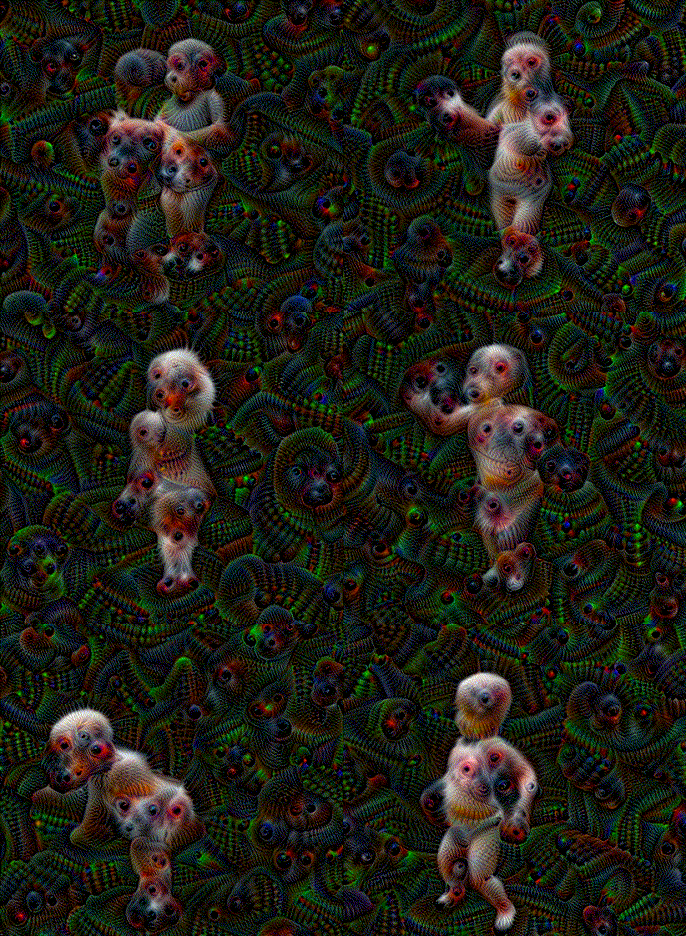
Same as above, but blending with blend mode set to --diff and --blend reduced to 0.16:
python dream.py --cpu -i dancing_baby.gif --mode octaves --steps 15 --step_size 0.0275 --diff --blend 0.16 --scale 1.25
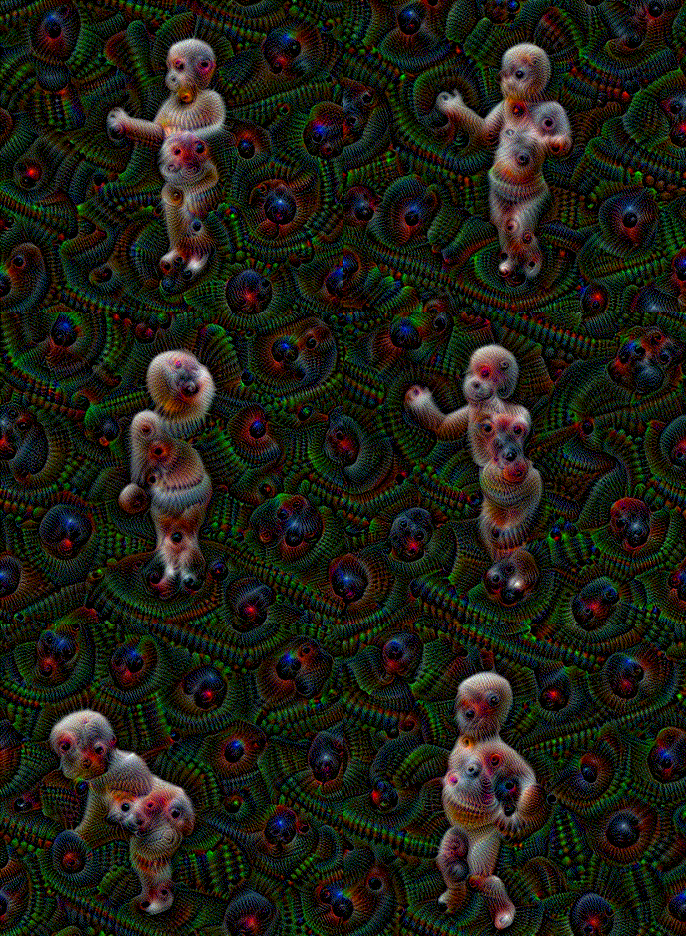
Random octaves
python dream.py --cpu -i surprise.gif --steps 36 --mode octaves --octaves "random 16" --scale 1.5 --blend 0.12 --diff --step_size 0.0125